Lightning Step retry
- Updated
- Jul 2, 2026

Overview
This guide will show you how to activate the lightning in back-to-back rounds of Ashes of the damed Easter egg, a step that typically cannot be repeated consecutively. By following these steps, you will make this crucial step significantly easier.
Step 1: Prepare Tessie and Wonderwaffe Upgrade
- You will need access to Tessie, the armored truck, and have the Wonderwaffe upgrade.
- The objective is to shoot three specific lampposts around the Diner area using Tessie and the Wonderwaffe.
Step 2: Electrify the First Lamppost
The first lamppost you need to electrify is located across from Tessie, near the Diner.
- Hop into Tessie and aim the Wonderwaffe at the lamppost.
- You'll notice the lamppost emitting small sparks, indicating it's ready.
- Shoot the lamppost with the Wonderwaffe to electrify it.
Step 3: Electrify the Second Lamppost
Once the first lamppost is electrified, the second one will begin to spark, indicating it's active.
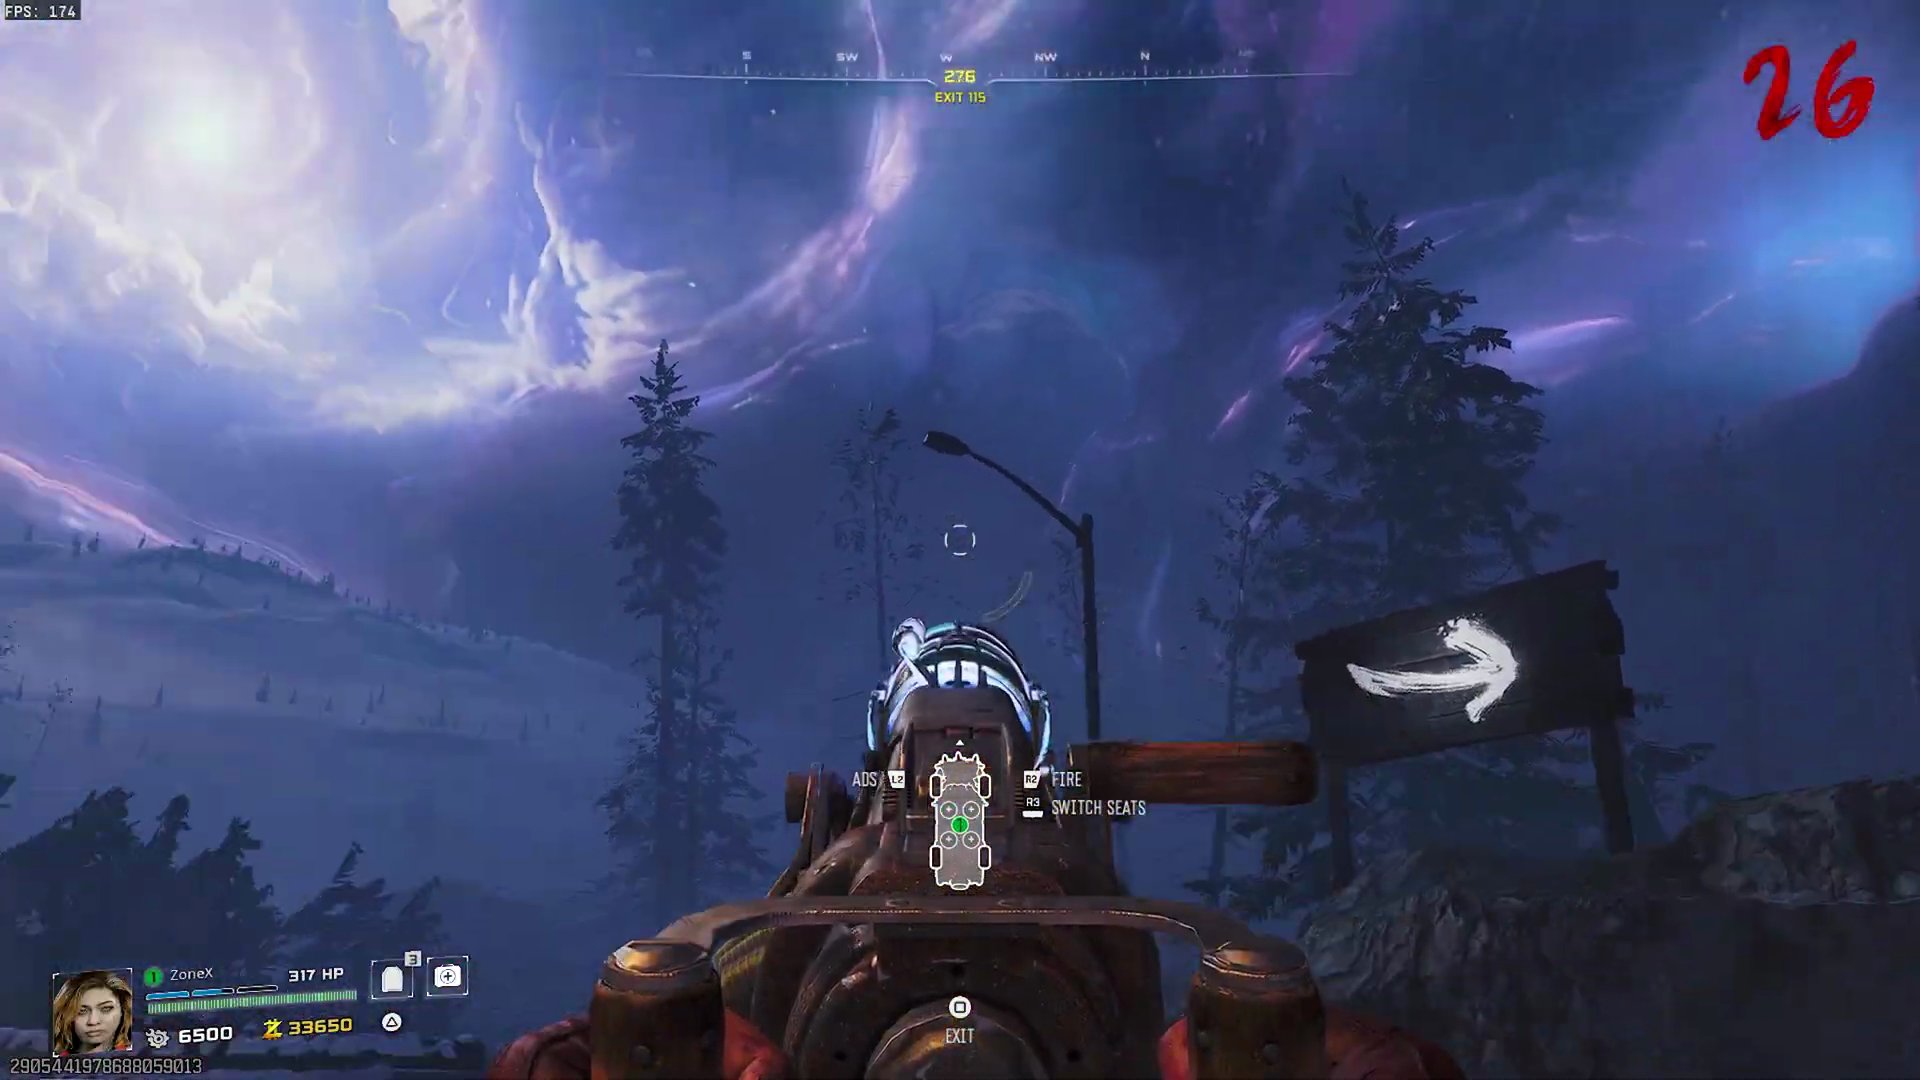
- Locate the second lamppost, which is usually positioned across the area, potentially on a raised section or bridge near another entrance to the Diner.
- Aim Tessie's Wonderwaffe at this sparking lamppost.
- Shoot it to electrify the second lamppost.
Step 4: Electrify the Third Lamppost & Activate Lightning
After the second lamppost is electrified, the third and final lamppost will start to spark.
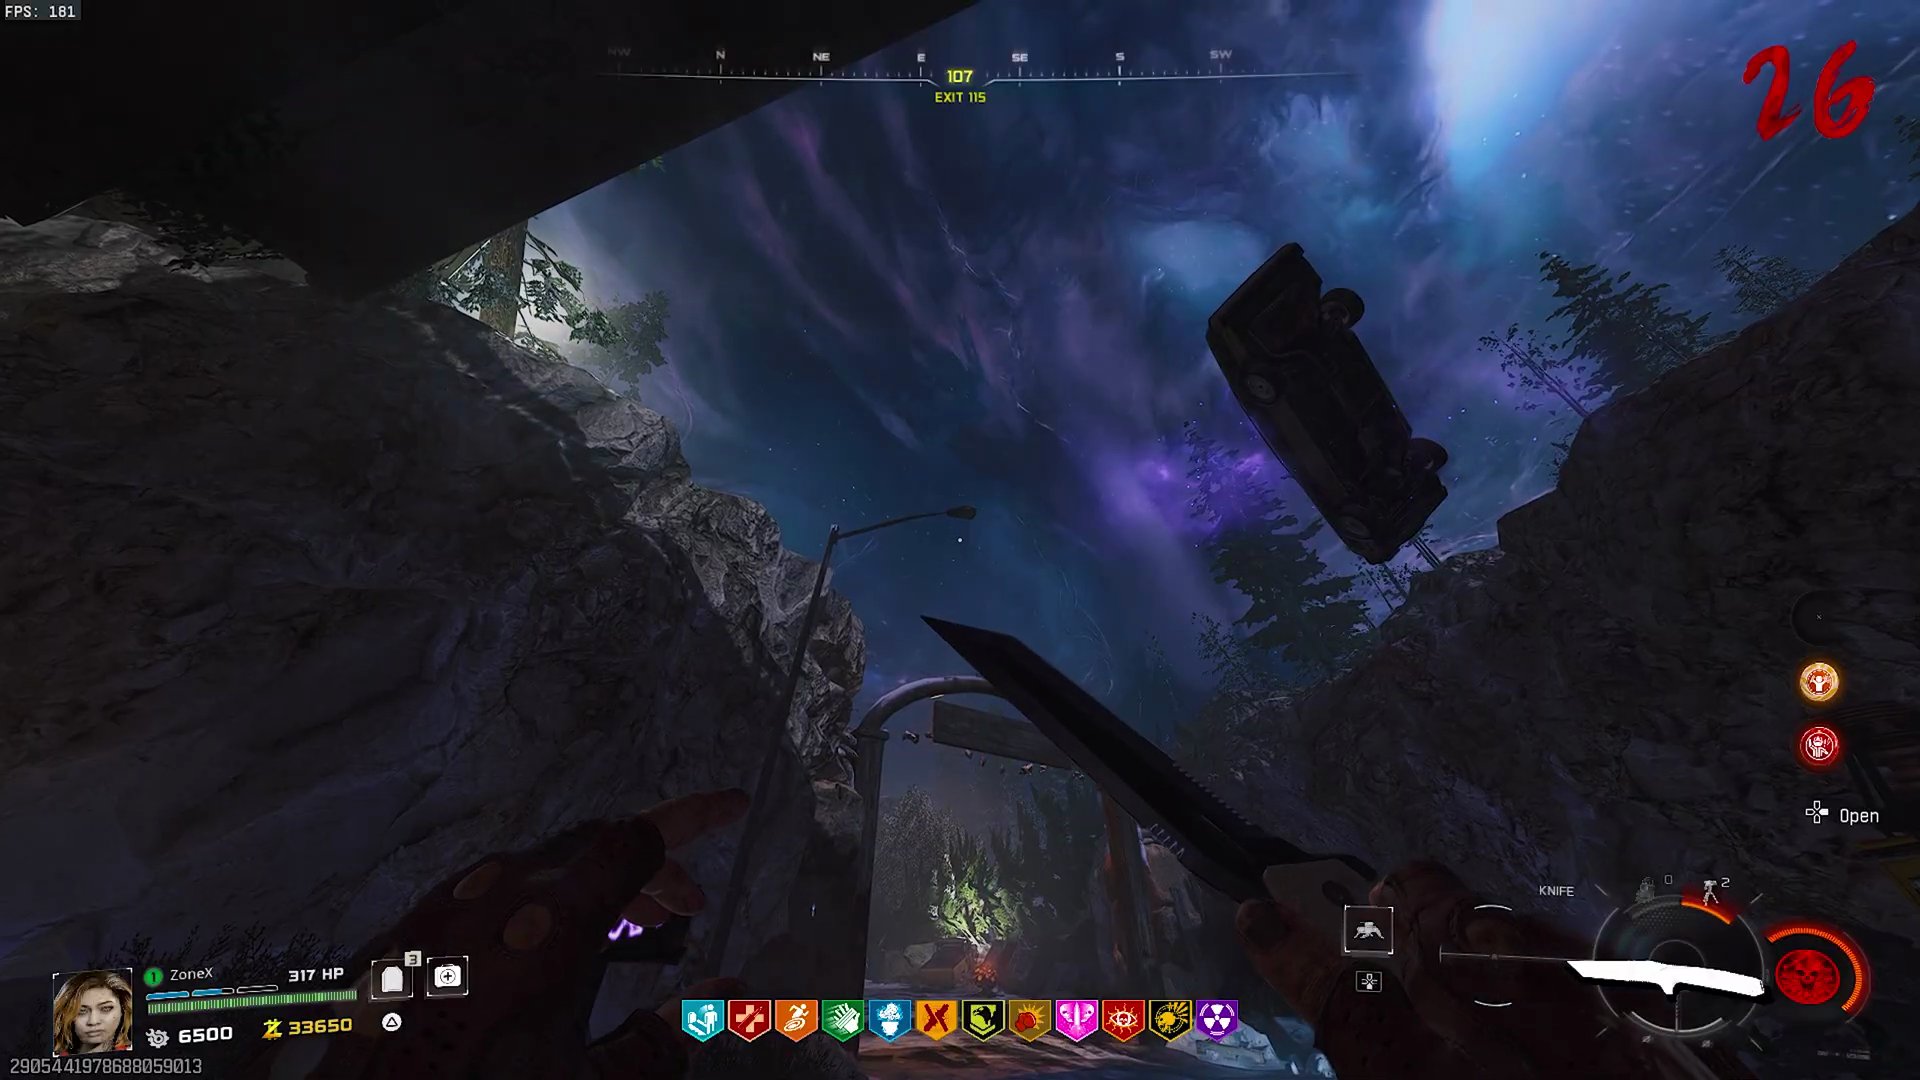
- Find the third lamppost, typically located at one of the main entrances to the Diner.
- Aim Tessie's Wonderwaffe at this sparking lamppost.
- Shoot the third lamppost to fully activate the lightning mechanism.
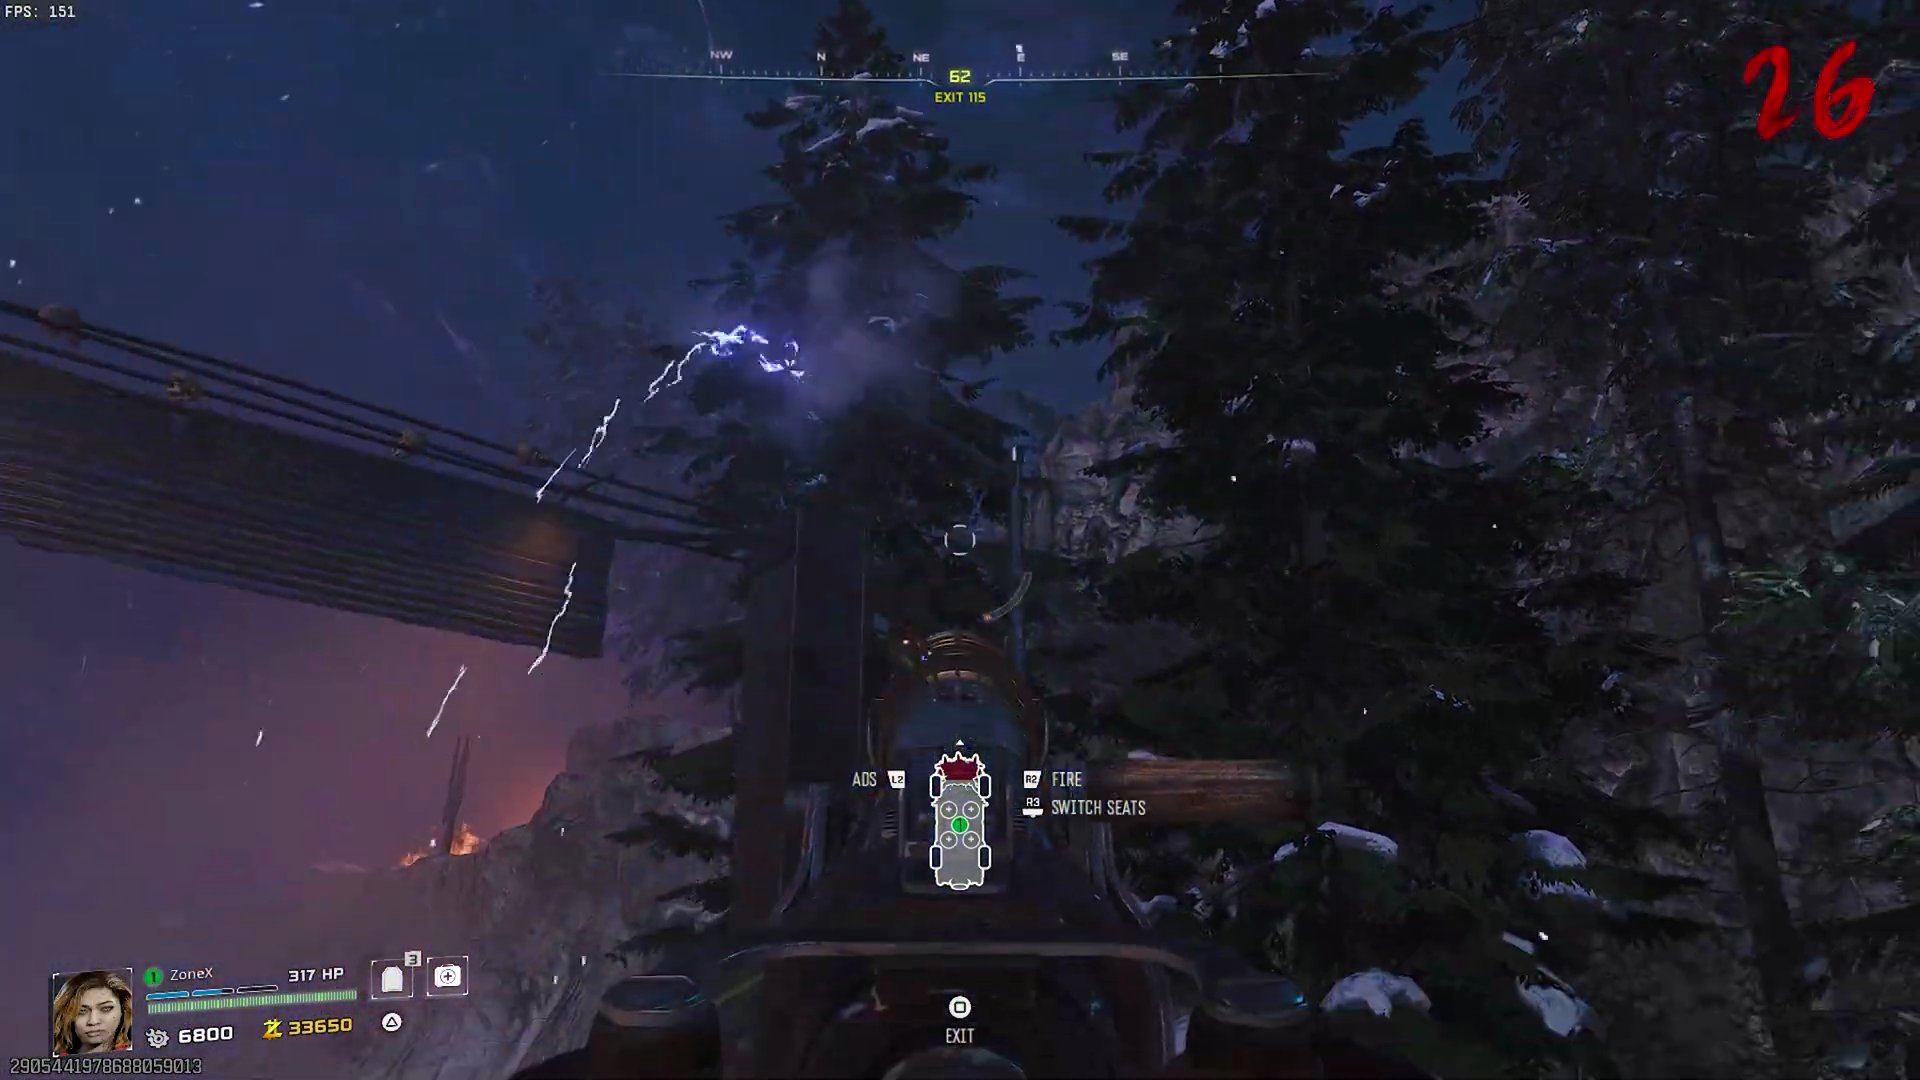
Step 5: Witness the Activated Lightning Strikes
Upon successfully electrifying all three lampposts, the lightning will begin to strike continuously in the area.
- You will see powerful lightning bolts striking down around the Diner.
- This confirms that the lightning mechanism is now active and will continue in back-to-back rounds, simplifying the Easter egg step.
Finished the Easter Egg?
Send this guide to your squad.